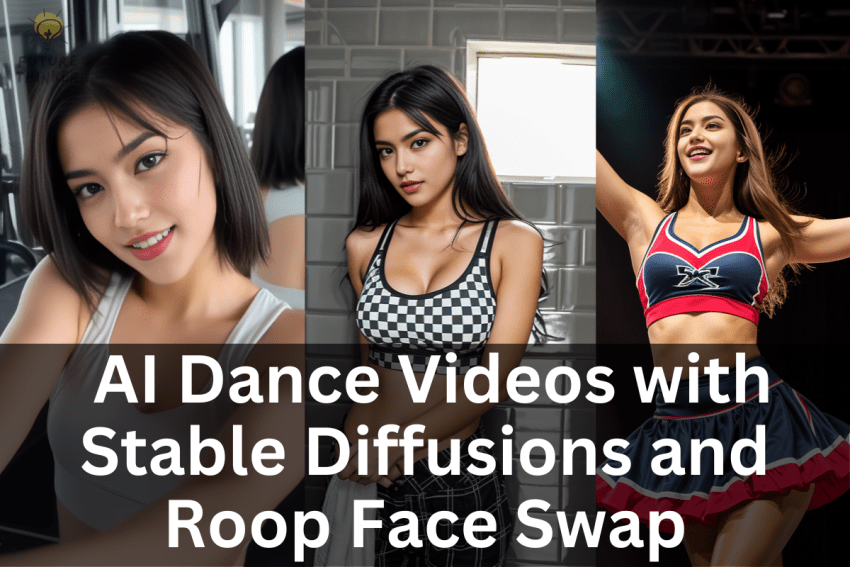
How do we make these mesmerizing videos, you ask?
Well, the secret ingredients are Stable Diffusions and Roop Face Swap techniques, and I’m here to walk you through the entire process.
Note: Here is the latest update Stable Diffusion Animation method with Flicker-Free and more customizable features – https://thefuturethinker.org/animatediff-flicker-free-controlnet-lcm-workflow-ver-8-5/
Unveiling the Magic
Some have been in awe of Nancy’s performances, even inquiring about her TikTok ID. However, here’s the kicker – Nancy is entirely virtual!
The Role of Automatic 11 11
Before we dive into the details, some commenters have questioned the compatibility of the move-to-move extension with Version 1.6. I’m here to confirm that it indeed works. While most of you have asked kindly, there’s always a few skeptics. This tutorial aims to set the record straight.
Creating Animations with Ease
To create animations using Stable Diffusions, the move-to-move method is a game-changer. It demands minimal preparation compared to other approaches. You only need your short videos, and the process is as simple as dragging and dropping them, adding your prompts, and generating animations.
Roop Face Swap Extension
We’re also incorporating the face swap extension based on the Roop model. It’s worth noting that this extension is uncensored and NSFW-enabled, catering to diverse preferences.
ReActor for Stable Diffusion : https://github.com/Gourieff/sd-webui-reactor
Navigating the Extensions
You can find links to all the resources mentioned in the description below. Installing the SD Web Reactor extension has been smooth for me, requiring no additional model downloads compared to the Roop Web UI. Upon running the extension for the first time, it automatically fetches the necessary model files. Moreover, this extension supports Google Colab SD WebUI.
Remember, One at a Time
Before using the Faceswap extension, ensure you’ve disabled the SD WebUI Roop extension and restarted Automatic 11 11. Both extensions can’t run concurrently, as it would lead to system crashes.
Exploring the Mov 2 Mov Tab
In this updated version, the Mov 2 Mov tab features a Movie Editor, allowing you to select specific frames and add them to the Mov 2 Mov settings. You can then craft text prompts for these frames. This functionality enables you to transform a scene from the original video into something entirely different, like converting a park scene into a futuristic spaceship setting.
Mov2Mov : https://github.com/Scholar01/sd-webui-mov2mov
Unlocking Creativity with Custom Nodes
For instance, you can select a keyframe, assign a corresponding text prompt, and utilize the Clip Interrogate Keyframe and Deepbooru Keyframe features to manipulate the keyframe image. This approach is far more convenient than the Ebsynth Utility, which involves extracting all image frames from a video clip for image-to-image transformations. With move-to-move, you simply provide a text prompt for the chosen keyframe.
Witnessing the Magic
I’ve picked a keyframe and paired it with a text prompt about a dancing woman in my example. The Clip Interrogate Keyframe and Deepbooru Keyframe automatically download the custom model files the first time you use them.
Face Swap and Animation Unleashed
While waiting for these downloads, we’re enabling the Reactor Extension below, much like the Roop Web UI extension. You can select the face image you want for the face swap and click ‘Enable.’ Additional settings come into play if there are multiple individuals in the video clip and the face swap image, enabling you to specify the target people. This feature is designed for approximately three people.
The Quest for Realism
I’m keeping the other settings as default for our demonstration. Now, we’ll test a new video for face swap and move-to-move animation, deviating from the white dress dancing videos that featured Nancy’s face. This time, we’re experimenting with various denoising strengths and noise multipliers, aiming for results akin to the YouTube short videos.
The Grand Reveal
The first generation exhibits a slightly cartoonish style with the RevAnimated checkpoint and denoising strength set at 0.5. However, when using Realistic Vision checkpoint models with lower denoising strength, the quality of animations significantly improves.
Video Tutorial:
The Final Act
As Stable Diffusion wraps up the generation process, we eagerly await the results. The Command Prompt completes its task, and the results are here. On the right side, you can see the face swap outcome with a denoising strength of 0.4 and a noise multiplier set to 1. I’ve experimented with other settings to reduce noise and flickering, which I’ll showcase at the end of the video below.
So, there you have it – a comprehensive tutorial on utilizing the Stable Diffusion extension to create animations without relying on other AI tools. That concludes today’s tutorial. I hope you’ve gained inspiration on crafting realistic animated video clips similar to those I’ve shared on YouTube shorts.
